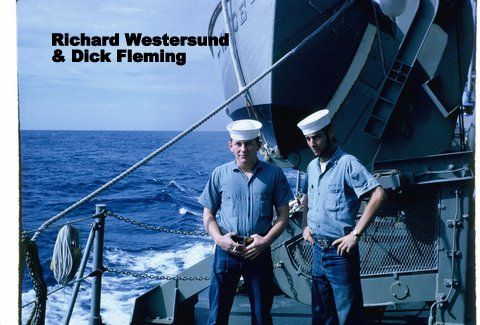
Crew Photos
Photos by Richard Fleming
Back